TL;DR:
- The 7 S’s framework provides a proven, reliable method for maintaining evidence integrity during crime scene investigations. Proper scene security and witness separation are essential first steps to prevent contamination and safeguard admissible evidence. Digital evidence requires prioritizing volatile data, and thorough documentation must precede evidence collection to preserve spatial context.
Crime scene investigation is defined as the systematic process of securing, documenting, and collecting physical and digital evidence to support criminal prosecution or civil litigation. The 7 steps of crime scene investigation, widely taught through the “7 S’s” framework, give investigators a repeatable methodology that protects evidence integrity from first arrival to courtroom presentation. The 7 S’s framework is regarded by legal and forensic educators as a pedagogical gold standard for training forensic professionals globally. Each step builds on the last, and skipping even one creates gaps that defence counsel will exploit at trial.
What are the 7 steps of crime scene investigation?
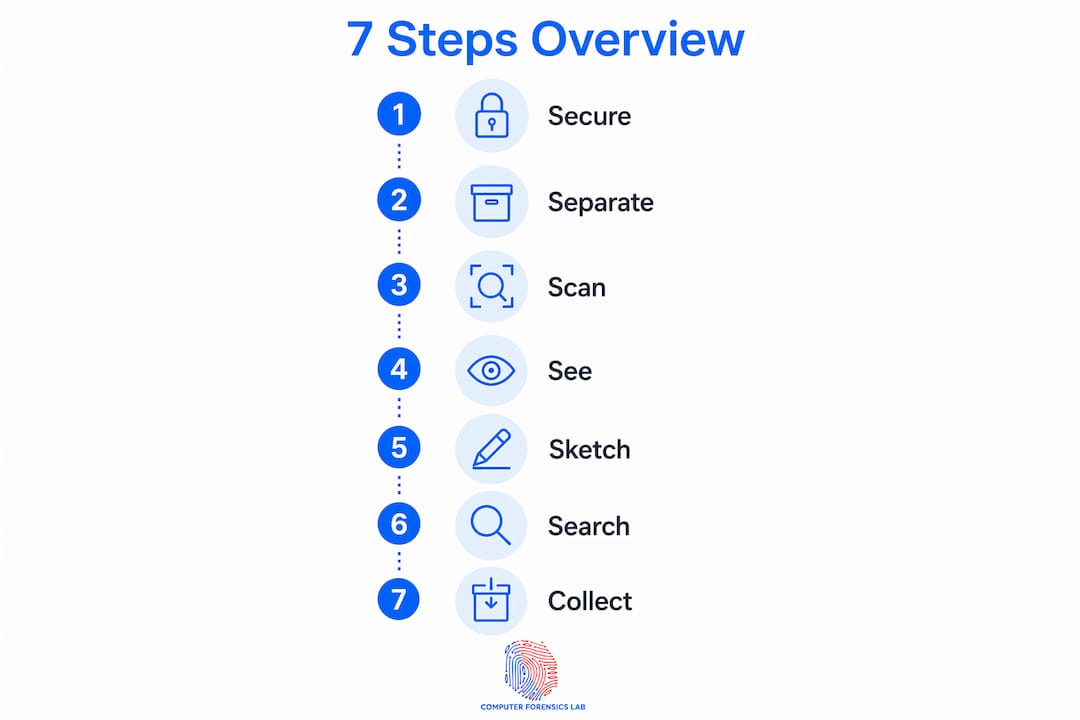
The 7 S’s are: secure the scene, separate the witnesses, scan the scene, see the scene (photography), sketch the scene, search for evidence, and secure and collect evidence. This sequence is not arbitrary. Each stage controls a specific contamination risk. Secure the scene before anything else, and you prevent bystanders from destroying trace evidence. Separate witnesses before they speak to one another, and you preserve independent accounts. Document before you touch, and you keep the spatial context that courts rely on. The framework applies equally to physical locations and to digital environments, where the same principles govern how investigators approach a compromised network or seized device.
Why is securing the scene the most critical first step?
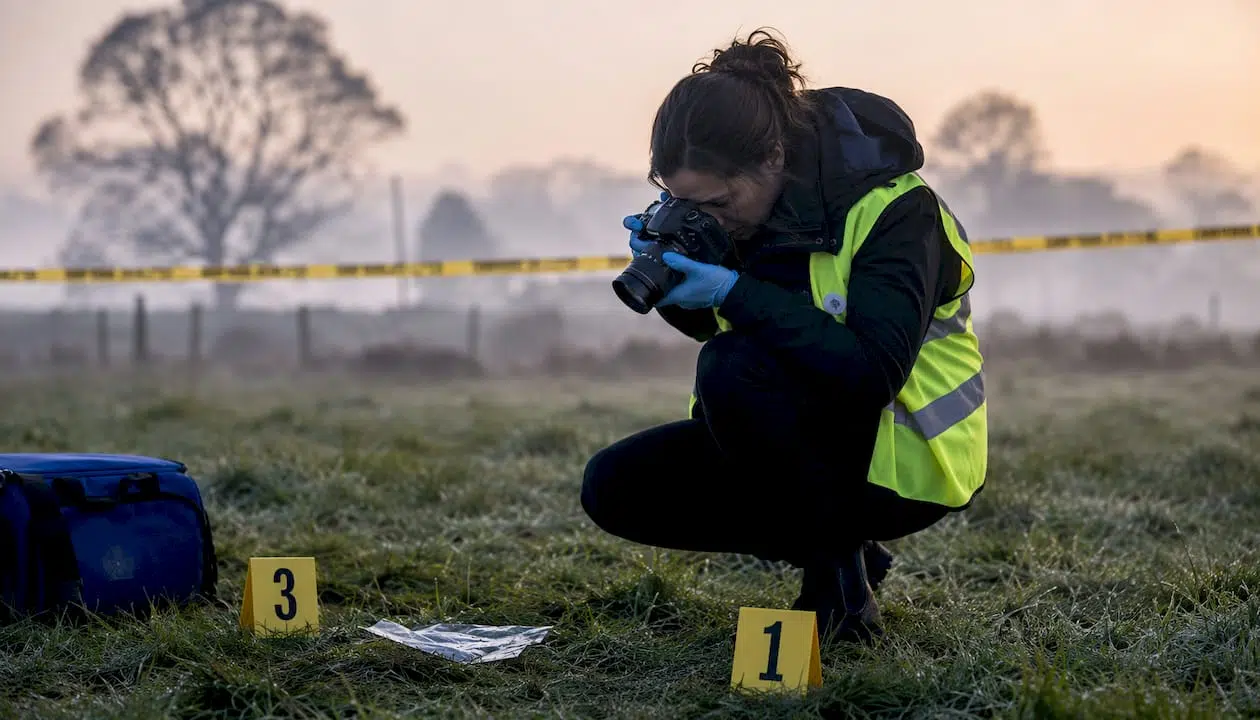
Securing the scene is the act of establishing a physical perimeter that restricts access to authorised personnel only. Health and safety at the scene must be assessed immediately, because investigators who enter a structurally unsafe building or a scene with chemical hazards compromise both themselves and the evidence. The perimeter typically uses barrier tape, and its boundary should extend further than the obvious area of interest. Evidence at the periphery is frequently overlooked and just as frequently decisive.
A single entry log provides a crucial audit trail of every person who accesses the scene. This document records names, roles, times of entry and exit, and the reason for access. Investigative failures regularly trace back to neglecting this log or allowing uncontrolled access, which contaminates the chain of custody before collection even begins.
Key actions at this stage include:
- Establishing an inner cordon (the immediate scene) and an outer cordon (the buffer zone)
- Appointing a scene guard to enforce access control
- Completing a health and safety risk assessment before entry
- Opening and maintaining the single entry log from the moment the perimeter is set
- Briefing all personnel on scene protocols before they enter
Pro Tip: Set the perimeter wider than you think necessary. Reducing a perimeter later is straightforward; expanding it after contamination has occurred is impossible.
How are witnesses managed in early crime scene investigation?
Separating witnesses is the second step, and it must happen before witnesses have any opportunity to discuss what they saw. Failing to separate witnesses promptly risks contamination of testimonies, which undermines investigation credibility and can render accounts inadmissible. Human memory is reconstructive, not reproductive. When two witnesses compare notes, their individual recollections begin to merge, and the court loses two independent data points and gains one unreliable composite.
Effective witness management at this stage involves:
- Moving witnesses to separate locations immediately, ideally out of sight of one another and of the scene
- Recording initial observations as soon as possible, while memory is freshest
- Noting the witness’s exact position, what they could see, and what they heard
- Restricting mobile phone use to prevent witnesses from sharing information digitally before formal statements are taken
- Documenting witness details, including contact information and relationship to the scene
The impact on judicial process is direct. Judges and juries assess witness credibility partly on consistency. Accounts that were genuinely independent carry far more weight than those that may have been shaped by conversation.
How do forensic teams scan, see, and sketch the scene?
Steps three, four, and five form the documentation sequence, and they must be completed before any evidence is moved or collected. Documentation is the only way to “freeze” a crime scene and preserve its original context for court. Once an item is moved, its original position is gone permanently. No reconstruction, however careful, carries the same evidential weight as contemporaneous documentation.
The scene walk-through (scan)
The crime scene walk-through is a controlled observation, not a search. Its purpose is to identify hazards, define scene boundaries, and note potential evidence without touching anything. The lead investigator conducts this walk-through with the scene examiner, mentally mapping the space and planning the subsequent photography and search sequences. Observations made here shape every decision that follows.
Photography (see)
Photography follows a strict sequence: wide shots establishing the scene’s geography, mid-range shots showing the relationship between items, and close-up shots capturing individual items of evidence with and without a scale marker. Photographic evidence greatly enhances juror comprehension by providing visual context alongside written reports. Every photograph must be logged with its number, direction, and the item it depicts.
Sketching
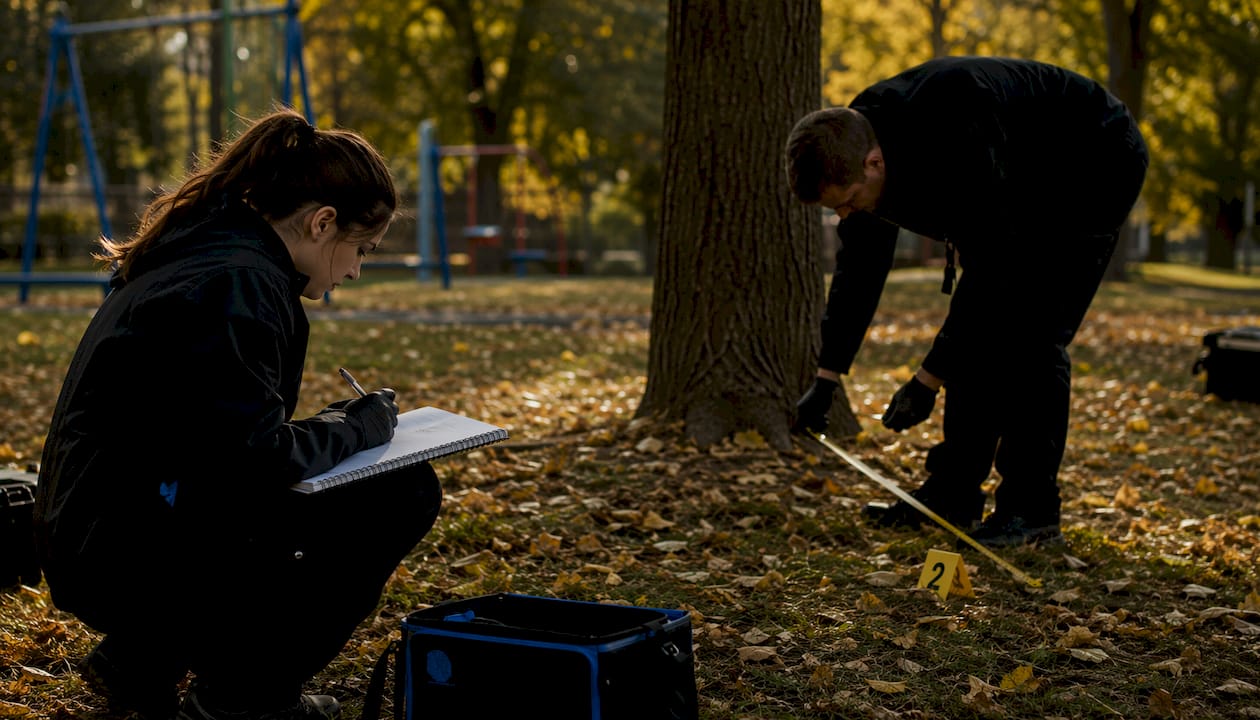
A sketch captures measurements and spatial relationships that photography alone cannot convey. The sketch records fixed reference points, distances between items, and the overall layout of the scene. Proficient forensic investigators combine detailed sketching and photography with written notes to create a multi-dimensional record that withstands rigorous legal challenge.
| Documentation method | Primary purpose | Legal value |
|---|---|---|
| Photography | Visual record of scene and items | High: juror comprehension, spatial context |
| Sketch | Measured layout and distances | High: spatial accuracy, court exhibits |
| Written notes | Narrative account of observations | High: corroborates visual records |
Pro Tip: Never move a single item of evidence before photography, sketching, and notes are complete. Premature movement of evidence destroys spatial context that cannot be recreated under any circumstances.
What are the steps for searching and collecting evidence?
The search is a systematic examination of the scene to locate all potential evidence. Systematic search patterns, including grid and spiral methods, improve evidence discovery and reduce the risk of overlooking items. The grid method divides the scene into sections and searches each twice from perpendicular directions. The spiral method works outward or inward from a central point and suits open outdoor scenes. The choice of pattern depends on scene size, terrain, and the nature of the suspected offence.
Once located, evidence must be collected using the correct technique for its type:
- Biological samples (blood, hair, saliva): collected with sterile swabs or forceps, packaged in breathable paper to prevent mould
- Fingerprints: lifted with powder and tape or captured photographically before lifting
- Documents: handled with gloves, placed in clear evidence bags without folding
- Electronic devices: seized without powering on or off where possible, placed in Faraday bags to block wireless signals
- Trace evidence (fibres, glass fragments): collected with tape lifts or tweezers, packaged in rigid containers
Chain of custody documentation details who handled evidence, when, why, and what changes occurred. This record is not a formality. A broken chain of custody gives the defence grounds to argue that evidence was tampered with or substituted, which can result in its exclusion from trial. Evidence packaging standards must prevent contamination and degradation during transport and storage to maintain usability in court.
Digital evidence requires an additional layer of consideration. Digital forensics adheres to the order of volatility, prioritising capture of data that disappears quickly before acquiring static data. RAM contents, active network connections, and running processes vanish the moment a device is powered down. Investigators must capture these first. Static data on hard drives and cloud storage can be acquired afterwards. Placing seized devices in Faraday bags prevents remote wiping, which is a real threat when suspects retain access to cloud management tools. The principle of chain of custody applies equally to digital assets; Computerforensicslab’s work on preserving digital chain of custody illustrates how the same rigour applied to physical evidence translates directly to digital environments.
The concept of traceability in evidence handling also extends beyond criminal investigations. Industries such as recycling apply chain of custody principles to track materials through processing chains, demonstrating that the underlying logic of accountability and documentation is universal wherever integrity of a tracked item matters.
Key takeaways
The 7 S’s framework is the most reliable method for preserving evidence integrity from first attendance at a scene through to courtroom presentation.
| Point | Details |
|---|---|
| Secure the scene first | Establish a perimeter and open a single entry log before any other action. |
| Separate witnesses immediately | Prevent communication between witnesses to preserve independent, admissible accounts. |
| Document before you touch | Complete photography, sketching, and notes before moving any item of evidence. |
| Use systematic search patterns | Grid and spiral methods reduce the risk of overlooking critical evidence. |
| Maintain chain of custody | Record every handler, time, and change to keep evidence legally admissible. |
What I have learned from years of forensic investigation work
The 7 S’s look straightforward on paper. In practice, the pressure at a live scene tests every step. The most common failure I observe is not ignorance of the framework. It is impatience. Investigators who have attended dozens of scenes begin to shortcut documentation because they feel confident in their memory. Memory is not evidence. A photograph is.
The second most damaging mistake is poor access control in the first ten minutes. Before the single entry log is established, senior officers, paramedics, and curious bystanders can all pass through the scene. Each person who enters without being logged is a potential source of contamination that the defence will raise. I have seen cases where a single unlogged entry created enough doubt to exclude a key exhibit.
Digital evidence has added a new dimension to the traditional steps. The order of volatility is not yet instinctive for investigators trained primarily on physical scenes. RAM data disappears in seconds. A device that is powered down to “preserve” it may actually destroy the most time-sensitive evidence it holds. The stages of crime scene investigation now need to account for this digital layer at every scene, not just those classified as cybercrime.
The investigators who produce the strongest case files are those who treat documentation as the investigation itself, not as paperwork that follows it.
— Computer
How Computerforensicslab supports forensic investigations
Computerforensicslab applies the same structured methodology to digital evidence that the 7 S’s apply to physical scenes. Based in London, the team handles evidence acquisition, chain of custody management, and expert witness reporting for legal professionals, law enforcement, and private clients across the UK. Whether the case involves a seized device, a compromised network, or deleted data that needs recovery, the process follows the same principles of integrity and documentation that make evidence court-ready. Explore Computerforensicslab’s digital forensics services to understand how professional evidence handling protects your case from the first byte to the final report.
FAQ
What are the 7 S’s of crime scene investigation?
The 7 S’s are: secure the scene, separate the witnesses, scan the scene, see the scene (photography), sketch the scene, search for evidence, and secure and collect evidence. This framework is the foundational methodology taught in forensic science education globally.
Why must documentation happen before evidence is collected?
Moving evidence before documentation permanently destroys its spatial context, which cannot be recreated. Courts rely on original positioning to establish timelines and relationships between items.
What is the order of volatility in digital forensics?
The order of volatility requires investigators to capture data that disappears quickly, such as RAM and active network sessions, before acquiring data stored on hard drives or in the cloud. Powering down a device without capturing volatile data first destroys it permanently.
How does chain of custody affect evidence admissibility?
A complete chain of custody record documents every person who handled evidence, when, and why. Gaps in this record give the defence grounds to argue tampering, which can result in evidence being excluded from trial.
What is a single entry log and why does it matter?
A single entry log records every person who enters the crime scene, their role, and their time of entry and exit. Neglecting this log is one of the most common causes of compromised chain of custody and contaminated evidence.