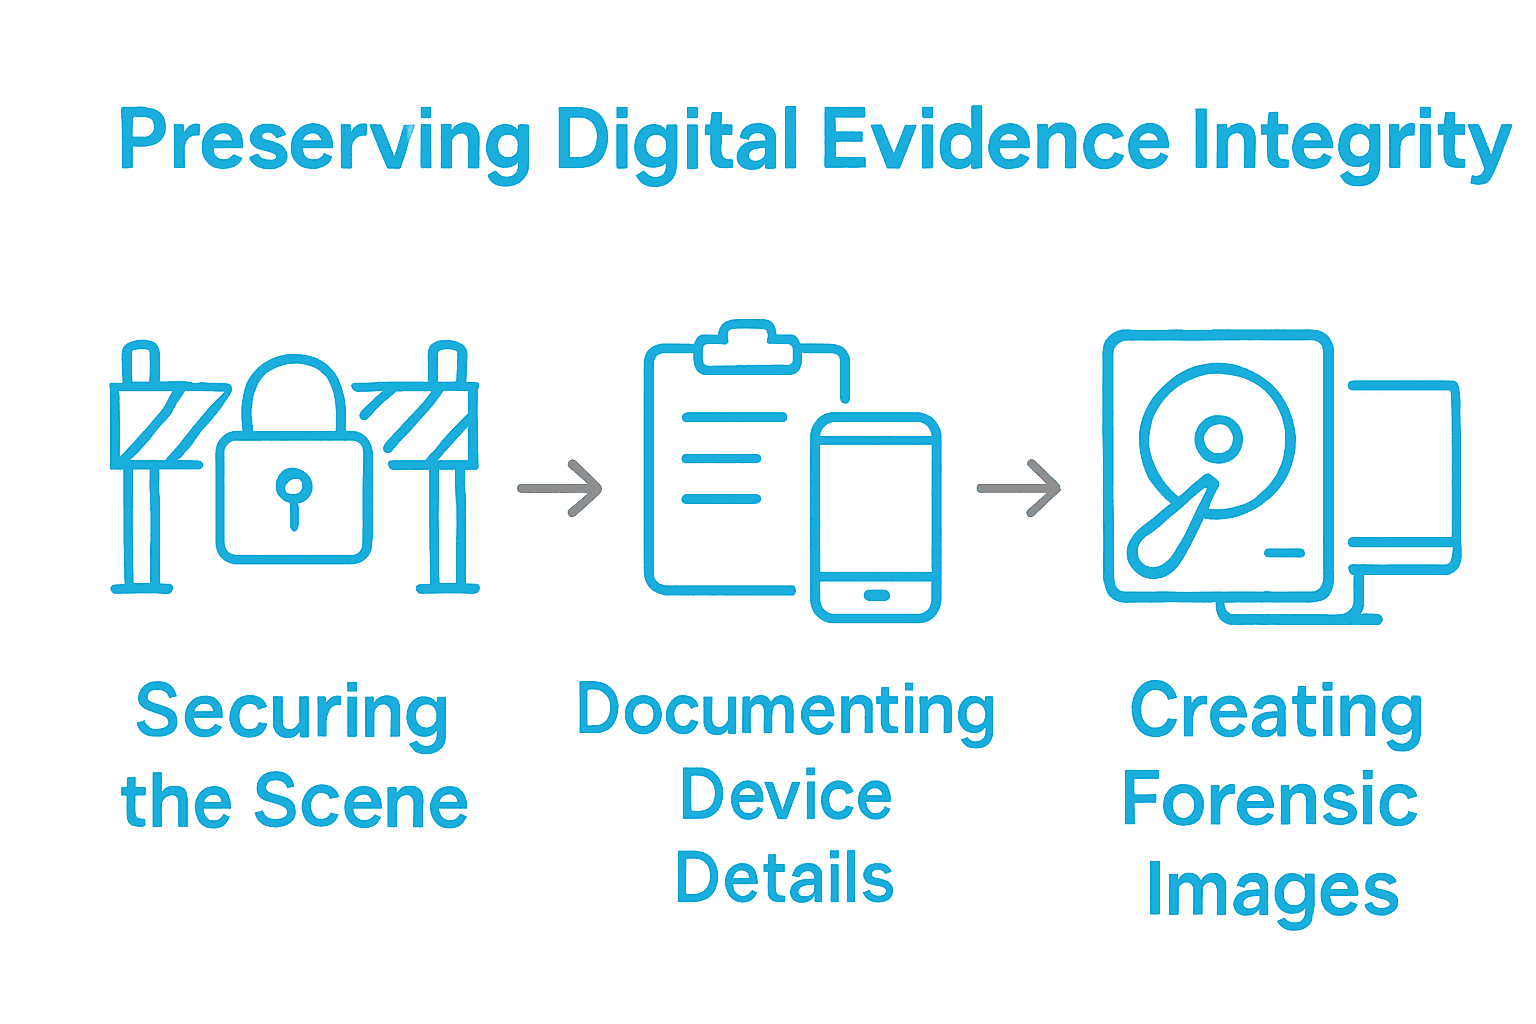
Digital evidence plays a role in over 90 percent of criminal investigations worldwide, according to recent studies. Whether you work in law enforcement or corporate security, knowing how to properly collect and preserve digital data can make or break a case. The right approach keeps vital information intact, while mistakes may lead to lost or damaged evidence that weakens your investigation. Learn the crucial steps professionals use to protect, capture, and verify digital evidence at every stage.
Table of Contents
- Step 1: Prepare Tools And Secure The Scene
- Step 2: Assess Devices And Identify Evidence Sources
- Step 3: Capture Digital Evidence Using Forensic Methods
- Step 4: Preserve Evidence Integrity And Maintain Chain Of Custody
- Step 5: Verify Evidence And Document The Collection Process
Quick Summary
| Key Point | Explanation |
|---|---|
| 1. Secure the scene immediately | Restrict access to the area and document it thoroughly to maintain evidence integrity. |
| 2. Prepare essential forensic tools | Utilize write blockers, forensically sound storage devices, and specialized software before collecting evidence. |
| 3. Catalog all potential evidence sources | Identify and document every device at the scene, noting their details for future analysis. |
| 4. Maintain a clear chain of custody | Document every interaction with the evidence to ensure it remains credible in legal contexts. |
| 5. Verify evidence integrity with hashes | Calculate cryptographic hash values before and after collection to ensure data has not been altered. |
Step 1: Prepare Tools and Secure the Scene
Successful digital evidence collection starts with meticulous preparation and scene protection. You will identify, document, and safeguard digital devices while preventing potential contamination or unintentional data destruction.
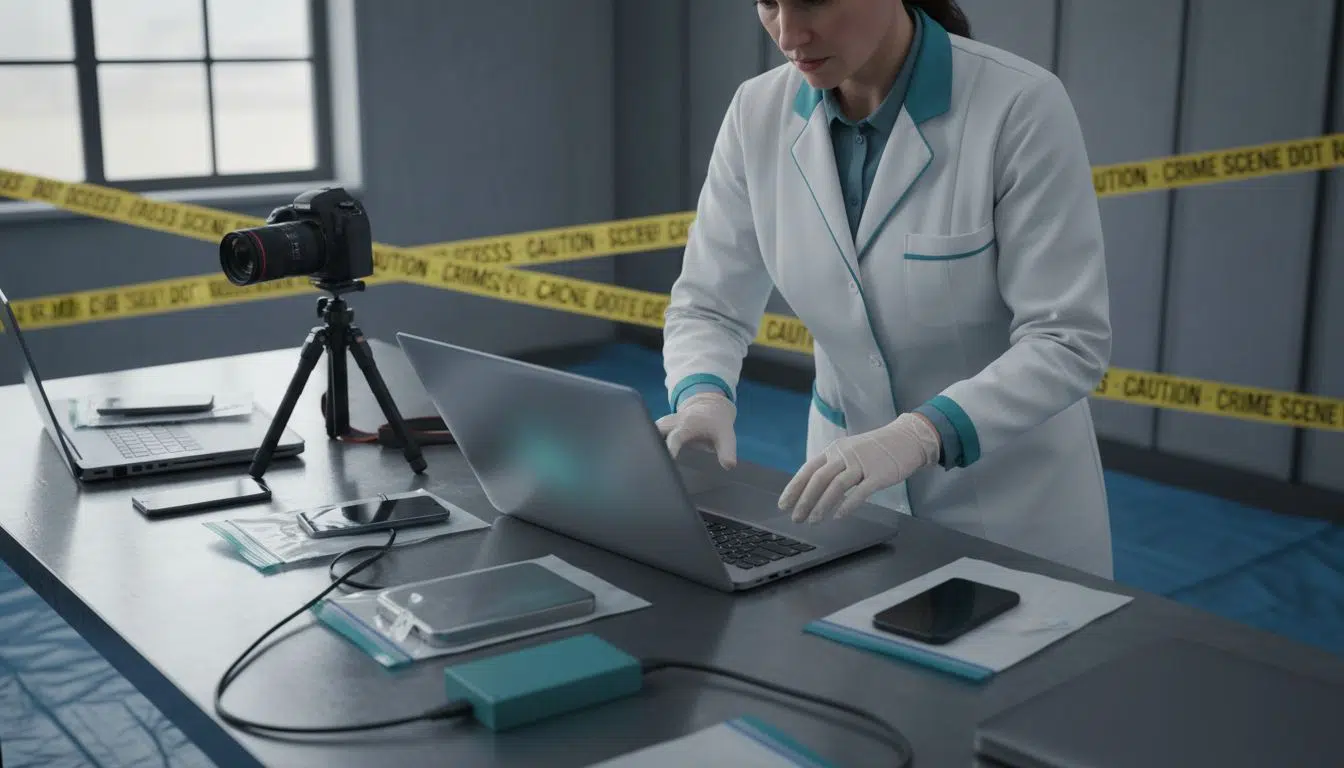
According to the OJP, securing the scene is critical for maintaining evidence integrity. This means immediately restricting access to the area, preventing anyone from touching electronic devices, and creating a comprehensive initial documentation log. Wear clean gloves, use evidence bags, and ensure no one interacts with potential digital evidence sources.
The FWS recommends having specialised forensic tools ready before beginning collection. Your essential toolkit should include write blockers (to prevent accidental data modification), forensically sound storage devices, evidence tags, camera for scene photography, and specialised forensic software. Pro tip: Always carry multiple storage media and backup power sources to handle unexpected situations.
Once you have secured the scene and prepared your tools, you are ready to begin systematic digital evidence preservation. Your next step will involve carefully documenting the initial scene conditions and preparing for methodical device examination.
Step 2: Assess Devices and Identify Evidence Sources
In this crucial stage, you will systematically evaluate and catalogue all potential digital evidence sources at the scene. Your goal is to create a comprehensive inventory of devices that might contain relevant information for your investigation.
According to the OJP, investigators must methodically identify all potential digital evidence sources. This means carefully surveying the environment for computers, mobile phones, external hard drives, tablets, network routers, cloud-connected devices, and even smart home technology. Each device requires careful documentation including manufacturer, model number, serial number, current power state, and visible connection status.
The FWS emphasises understanding the function and potential data landscape of each device. Not all devices are equally important some might contain critical evidence while others are peripheral. Pay special attention to recently used devices, those with unusual connection patterns, or systems that seem deliberately hidden or secured.

Remember that thorough initial assessment sets the foundation for successful digital evidence collection. Your next step will involve carefully powering down and preparing these devices for forensic imaging.
Step 3: Capture Digital Evidence Using Forensic Methods
In this critical phase, you will learn how to methodically capture digital evidence while preserving its original integrity and ensuring its admissibility in legal proceedings. The goal is to create exact forensic copies of digital media without altering a single byte of original data.
According to the OJP, digital evidence must be captured using forensically sound methods that create bit-by-bit copies of storage media. This requires using specialised write blockers to prevent any accidental data modification during the imaging process. Connect your forensic write blocker between the original device and your forensic workstation, ensuring that no data can be accidentally written or changed during evidence acquisition.
The FWS emphasises the importance of utilising appropriate forensic tools to capture evidence accurately. Your 7 essential digital forensic techniques will guide you through selecting the right imaging tools and methods. Use forensically validated software like EnCase or FTK to create forensic images (.E01 or .DD formats), which include complete sector-by-sector copies and comprehensive metadata. Verify each image with cryptographic hash values (MD5 or SHA-256) to guarantee the evidence remains unaltered and can withstand legal scrutiny.
Once you have successfully captured the forensic images, you are prepared to begin the detailed analysis phase where you will extract and examine potential evidence.
Step 4: Preserve Evidence Integrity and Maintain Chain of Custody
In this critical stage, you will learn how to meticulously document and protect digital evidence to ensure its legal admissibility and prevent potential contamination or tampering. Your primary objectives are to track every interaction with the evidence and create an unbreakable record of its journey.
According to the OJP, maintaining a clear chain of custody involves comprehensive documentation of every individual who handles the evidence, including precise records of actions taken and exact timestamps. This means creating a detailed log that tracks each forensic expert, the specific actions performed, the exact time of those actions, and the reasons for each interaction. Use standardised evidence tracking forms, photograph each piece of evidence with unique identifiers, and ensure that every transfer of evidence is witnessed and signed by at least two professionals.
The SWGDE emphasises the importance of controlled storage environments and restricted access. Your understanding of chain of custody procedures will help you create a robust evidence management protocol. Store digital evidence in secure, temperature-controlled environments using tamper-evident bags, sealed containers, and locked storage units. Implement strict access controls where only authorized personnel can interact with the evidence, and always use individual authentication methods to track who enters the evidence storage area.
With your evidence now securely documented and stored, you are prepared to move forward to the detailed analysis phase of your digital forensic investigation.
Step 5: Verify Evidence and Document the Collection Process
In this crucial verification phase, you will systematically confirm the integrity of your digital evidence and create a comprehensive documentary record that will withstand legal scrutiny. Your goal is to establish an irrefutable forensic trail that validates every step of your evidence collection process.
According to the SWGDE, verification of digital evidence requires calculating cryptographic hash values before and after collection to confirm absolute data integrity. Use industry standard hash algorithms like SHA-256 or MD5 to generate unique digital fingerprints for each piece of evidence. Compare initial and post-collection hash values to ensure not a single byte has been altered during the forensic imaging process. Any discrepancy could potentially invalidate your entire evidence collection.
The OJP emphasises the importance of comprehensive documentation. Your essential digital evidence preservation methods guide will help you create meticulous records that include detailed forensic notes, timestamped photographs, system configuration screenshots, and precise logs of every action taken. Photograph each device from multiple angles, capture serial numbers, record network configurations, and annotate any unique characteristics that might be relevant to your investigation. This granular documentation provides transparency and builds a robust narrative for potential legal proceedings.
With your evidence verified and thoroughly documented, you are now prepared to begin the in-depth forensic analysis of your digital artifacts.
Strengthen Your Digital Investigations with Expert Forensic Support
Collecting digital evidence for legal investigations is complex and demands precision to protect data integrity and maintain clear chain of custody. Challenges like preventing data contamination, thorough device assessment, and forensic imaging require specialised knowledge and equipment. If you find yourself needing to preserve vital digital evidence confidently or navigate complicated evidence handling processes, trusted professional help is essential.
Explore our comprehensive Digital Forensic Investigation services where expert analysts apply proven techniques to support your case. With an emphasis on Digital Evidence Preservation, we ensure every step meets legal standards, safeguarding your evidence from collection to courtroom. Start overcoming the obstacles of digital evidence collection today by partnering with Computer Forensics Lab. Get in touch now to secure your investigation with expert digital forensics solutions tailored for legal professionals and businesses alike.
Frequently Asked Questions
How should I prepare tools for collecting digital evidence?
To prepare tools for collecting digital evidence, gather write blockers, forensic storage devices, evidence tags, and specialized software. Ensure that you have backup power sources and multiple storage media available for unexpected situations.
What steps should I follow to secure the scene during digital evidence collection?
To secure the scene, immediately restrict access to all areas where digital evidence may be present and document the scene thoroughly. Use clean gloves, evidence bags, and create an initial log without allowing anyone to interact with electronic devices.
How do I assess devices for potential digital evidence?
Assess devices by thoroughly surveying the scene to identify computers, mobile phones, external hard drives, and other digital devices. Document crucial information such as manufacturer, model numbers, and current power states for each identified device.
What methods should I use to capture digital evidence?
Use forensically sound methods by connecting a forensic write blocker to each device before creating bit-by-bit copies of storage media. Ensure you verify the integrity of the captured data with cryptographic hash values to confirm that no information has been altered during the process.
How can I maintain the chain of custody for digital evidence?
Maintain the chain of custody by documenting every individual who handles the evidence, including actions taken and timestamps. Create a detailed log for all interactions and secure the evidence in controlled environments with restricted access to prevent tampering.
What should I document during the evidence collection process?
Document each step of the evidence collection process by taking timestamped photographs, recording system configurations, and noting all interactions with the evidence. This comprehensive documentation builds a reliable narrative for any potential legal proceedings.

